
Note: Before you start, make sure the source document containing the figure is in your program's Data Room. Weave can find figures in PDF and Word documents.
Add a figure from the Data Room
- Open your document and make sure you are in Content View.
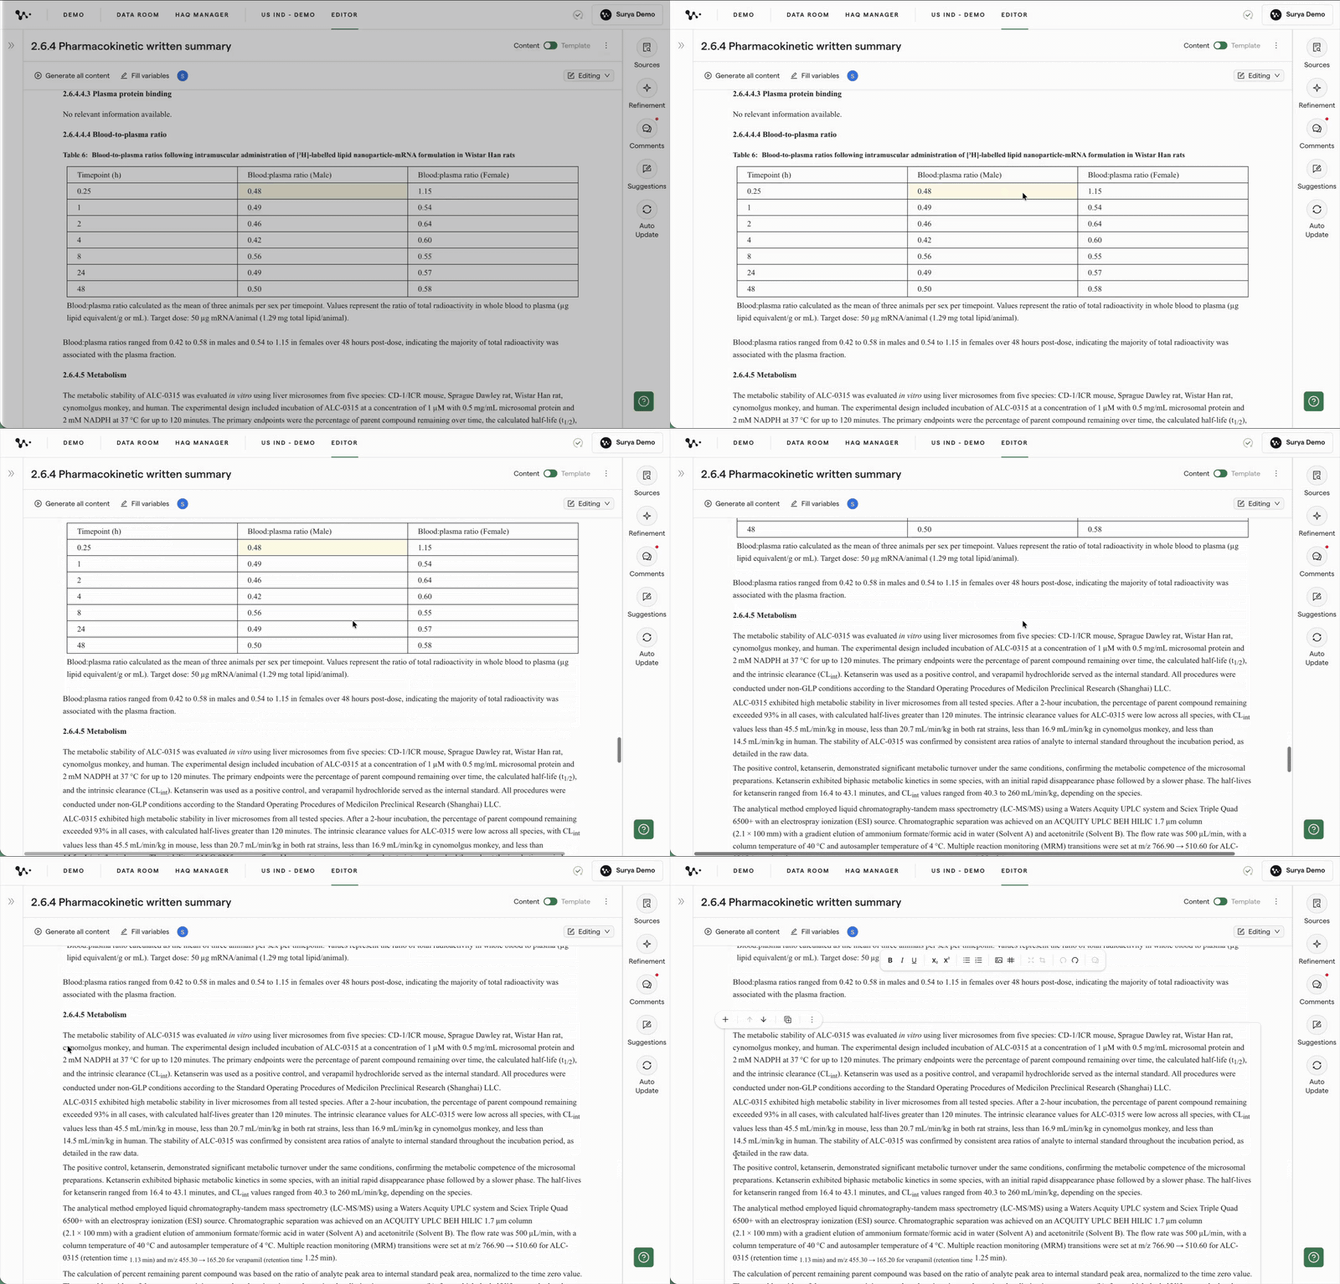
Opening Content View in the Document Editor - Hover over the left margin at the point where you want the figure to appear, then click the + icon.
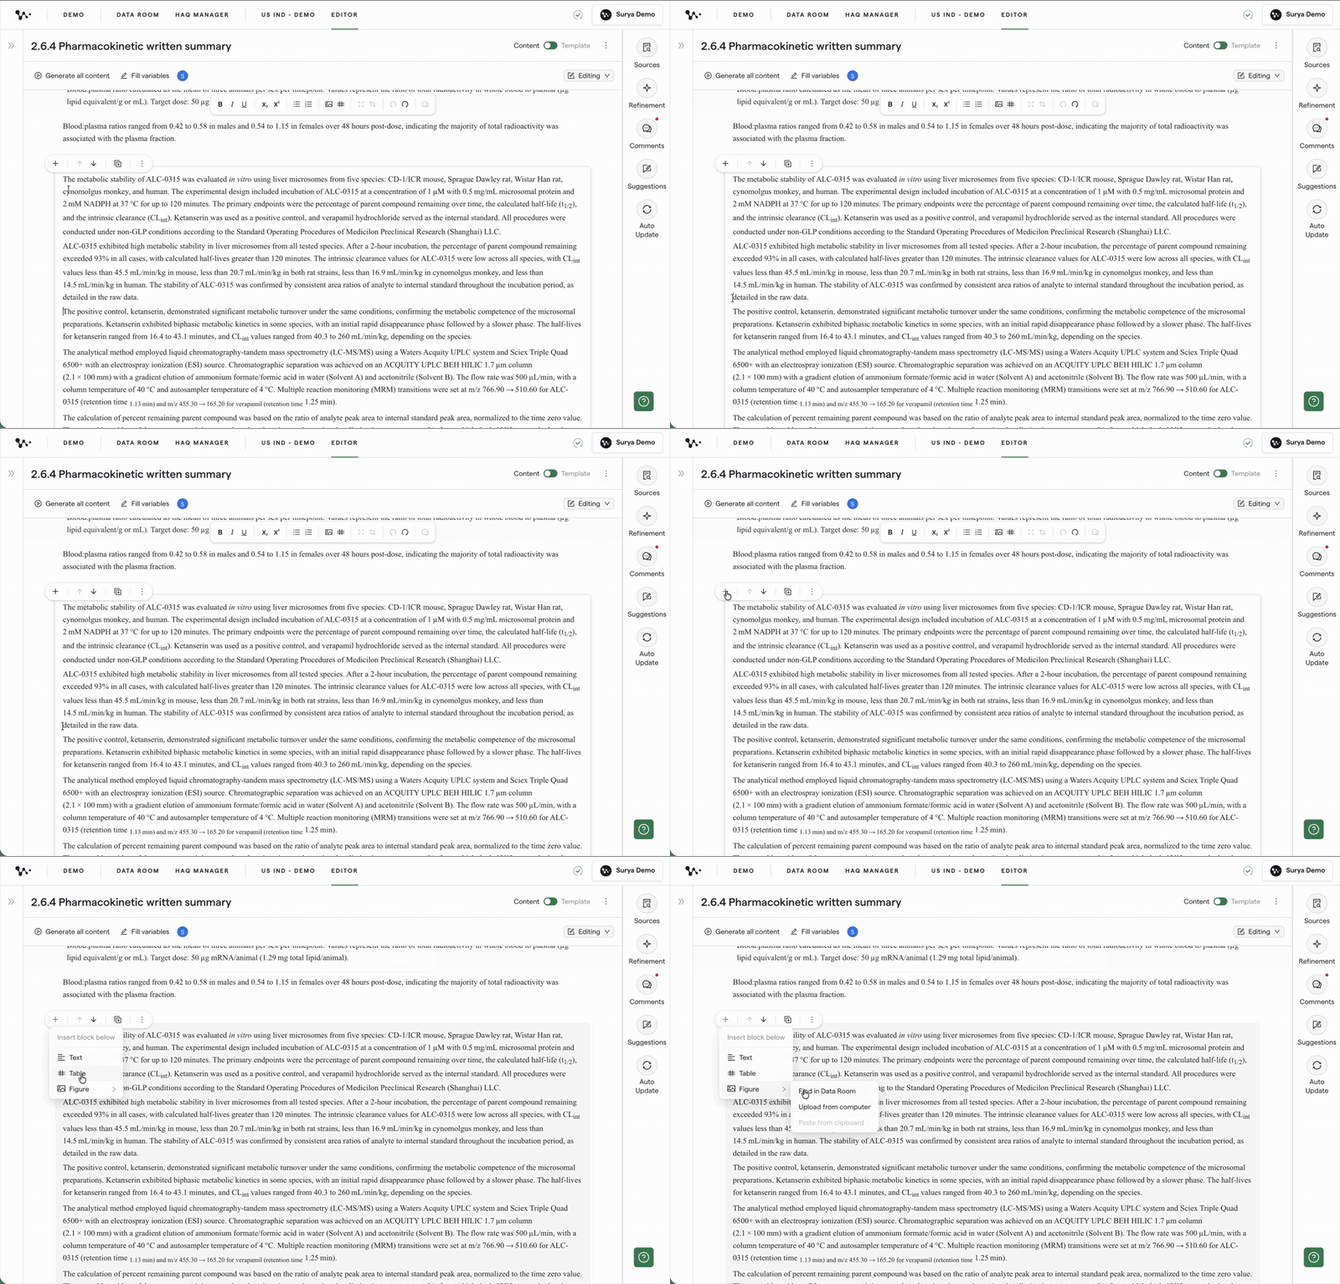
Choosing where to add the figure - Select Figure, then choose Find in Data Room.
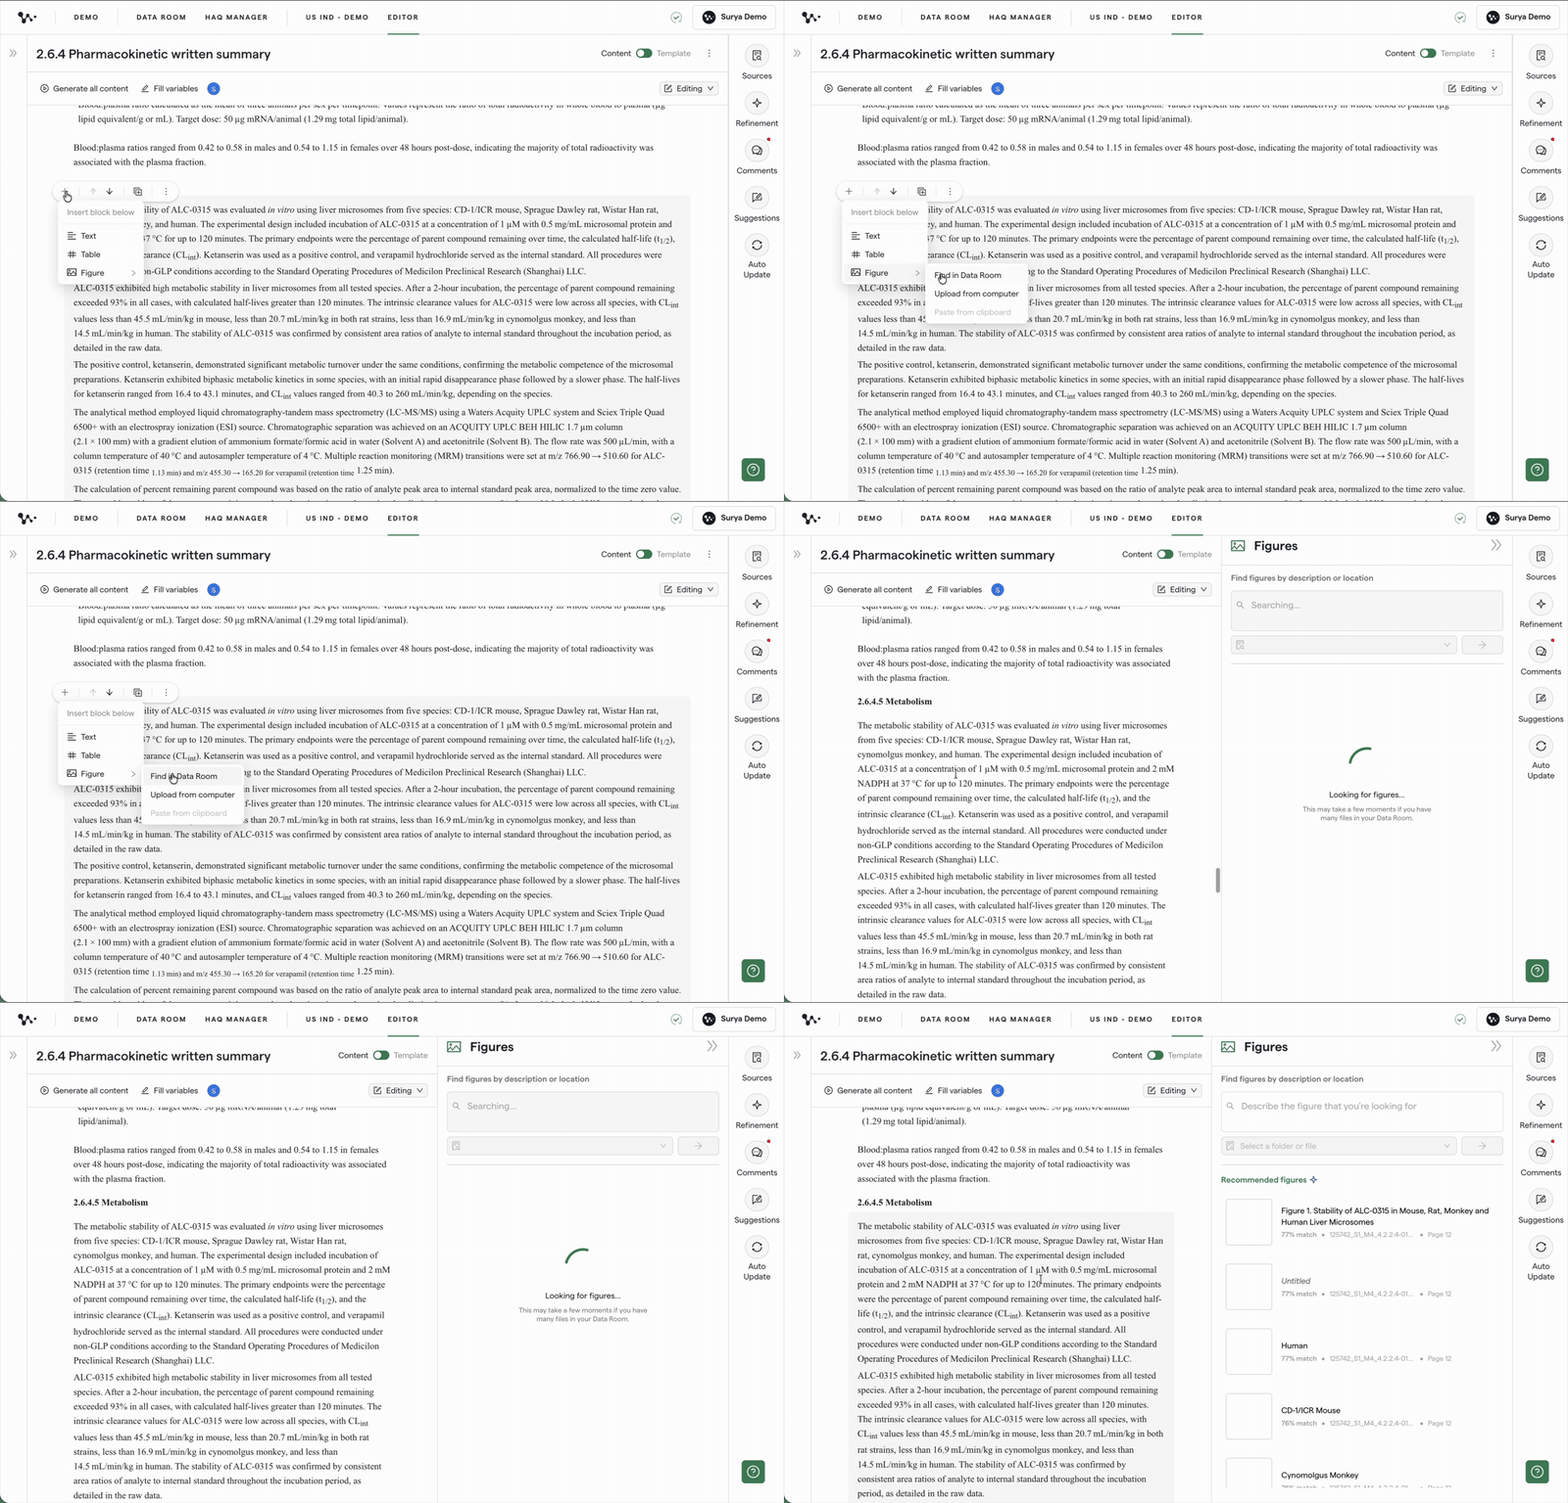
Opening figure recommendations from the Data Room - Review the recommended figures. Each recommendation includes a match score and an explanation of why Weave suggested it, including the source file and relevant data tags.
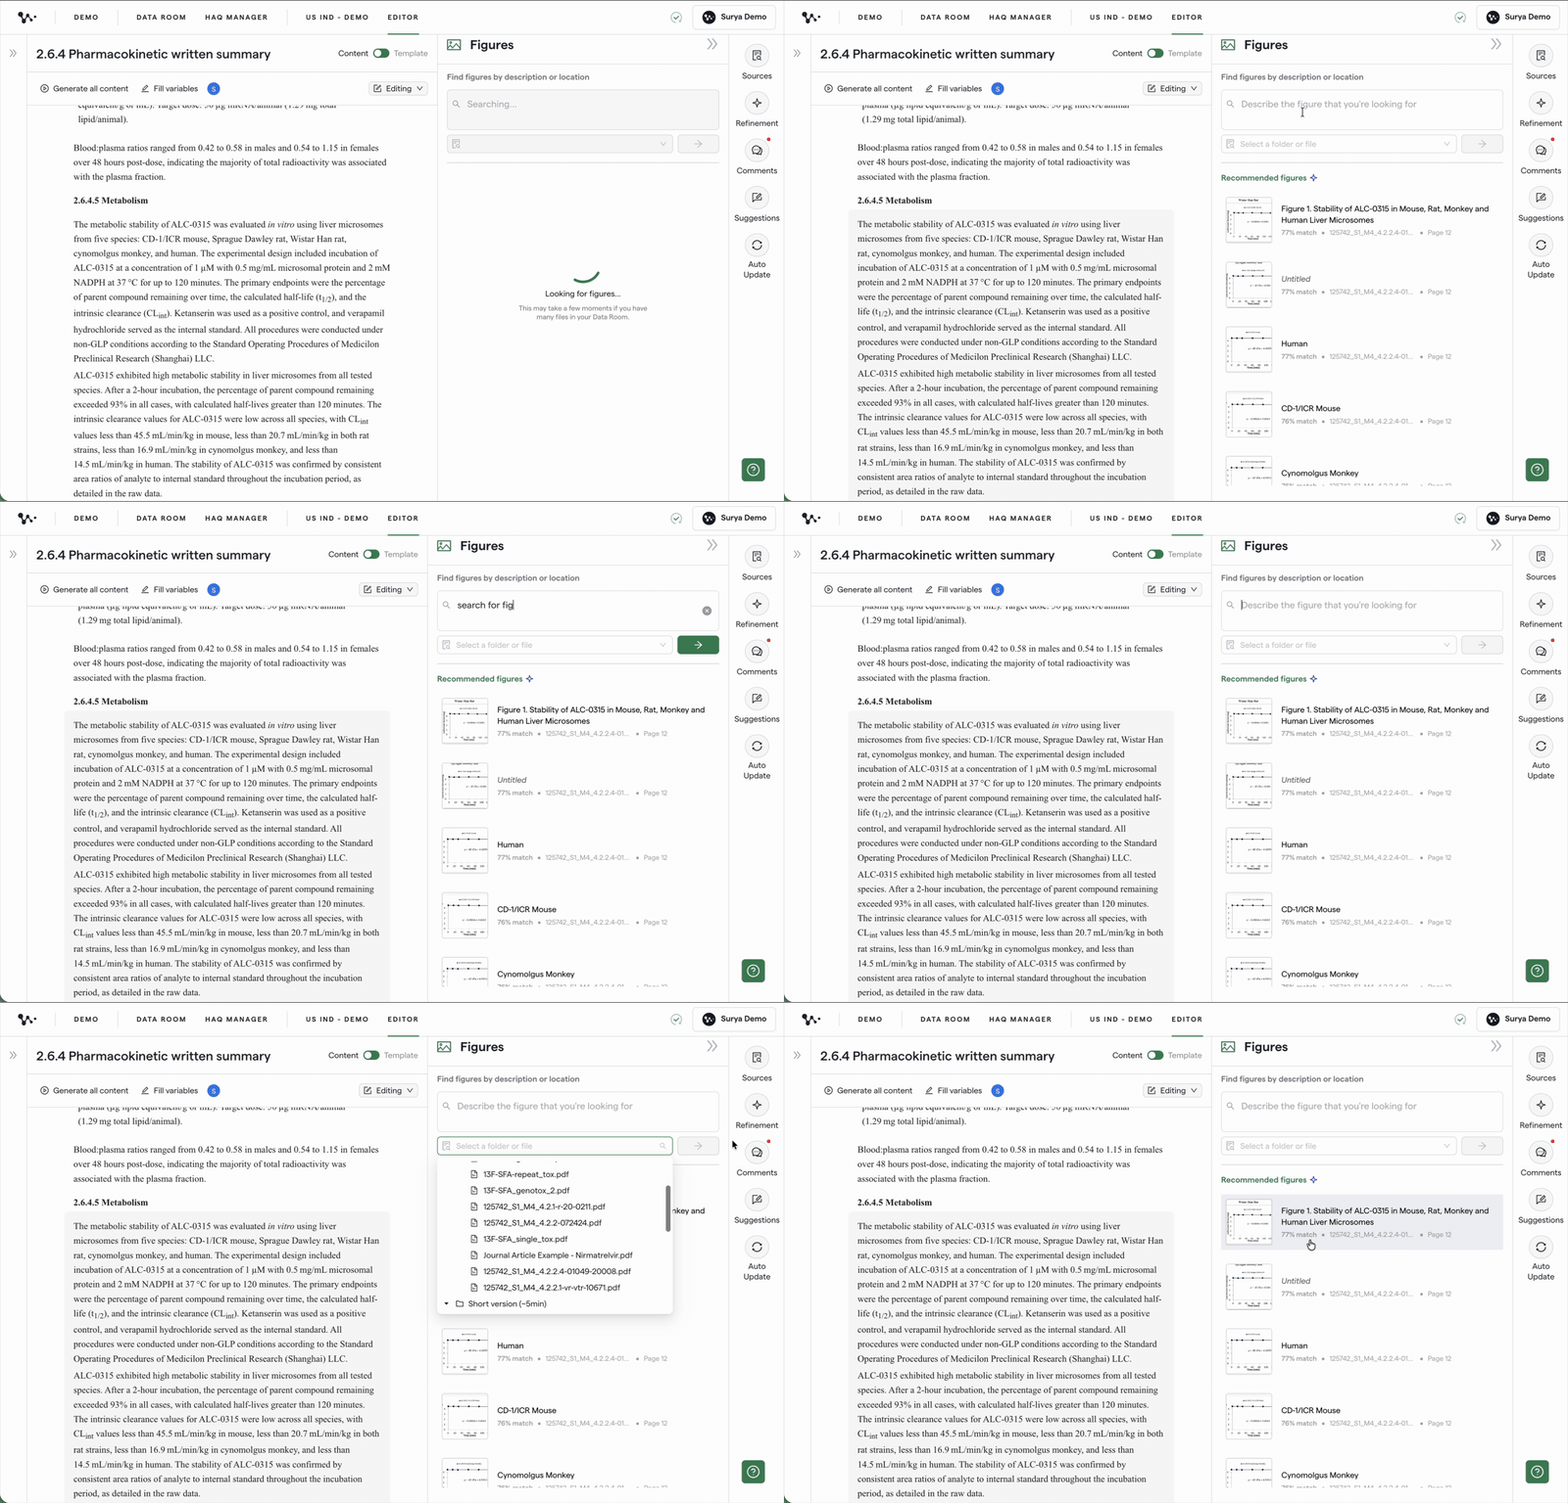
Reviewing Weave's figure recommendationsNote: Weave extracts figures from your source documents, but it does not insert them automatically. You decide which figure belongs in the section.
- Preview the figure you want to use and confirm it is the correct image.
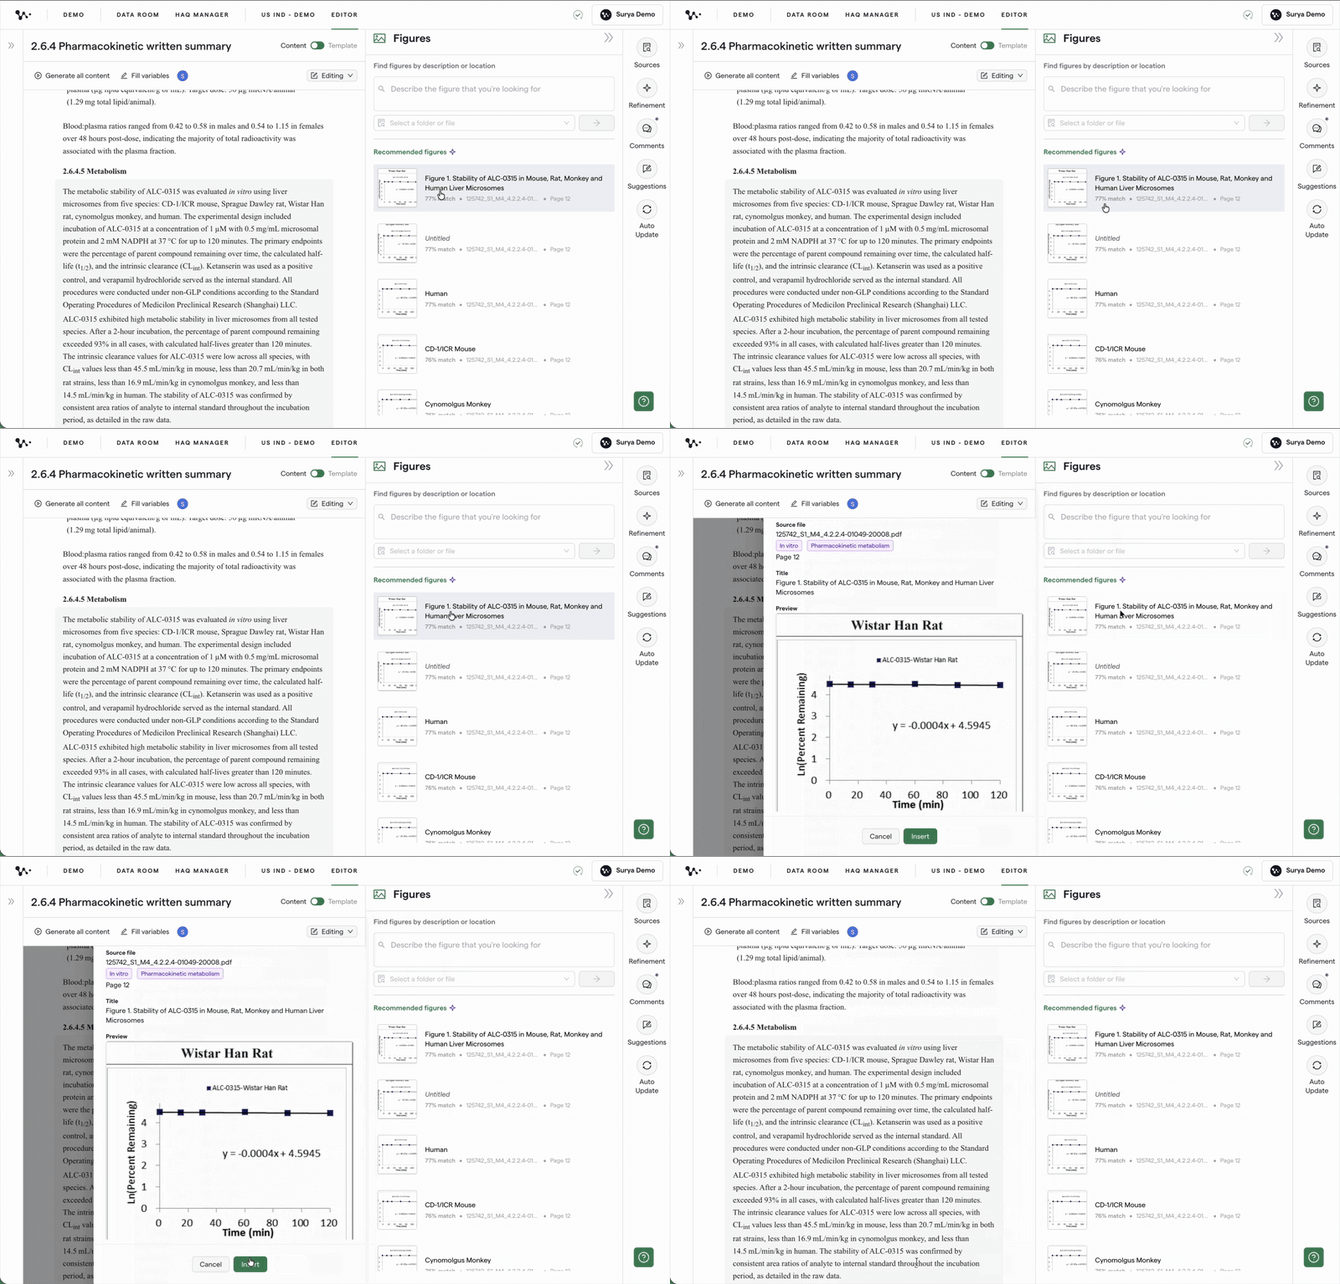
Checking a figure before adding it to the document - Insert the selected figure. It appears below the insertion point in your document.
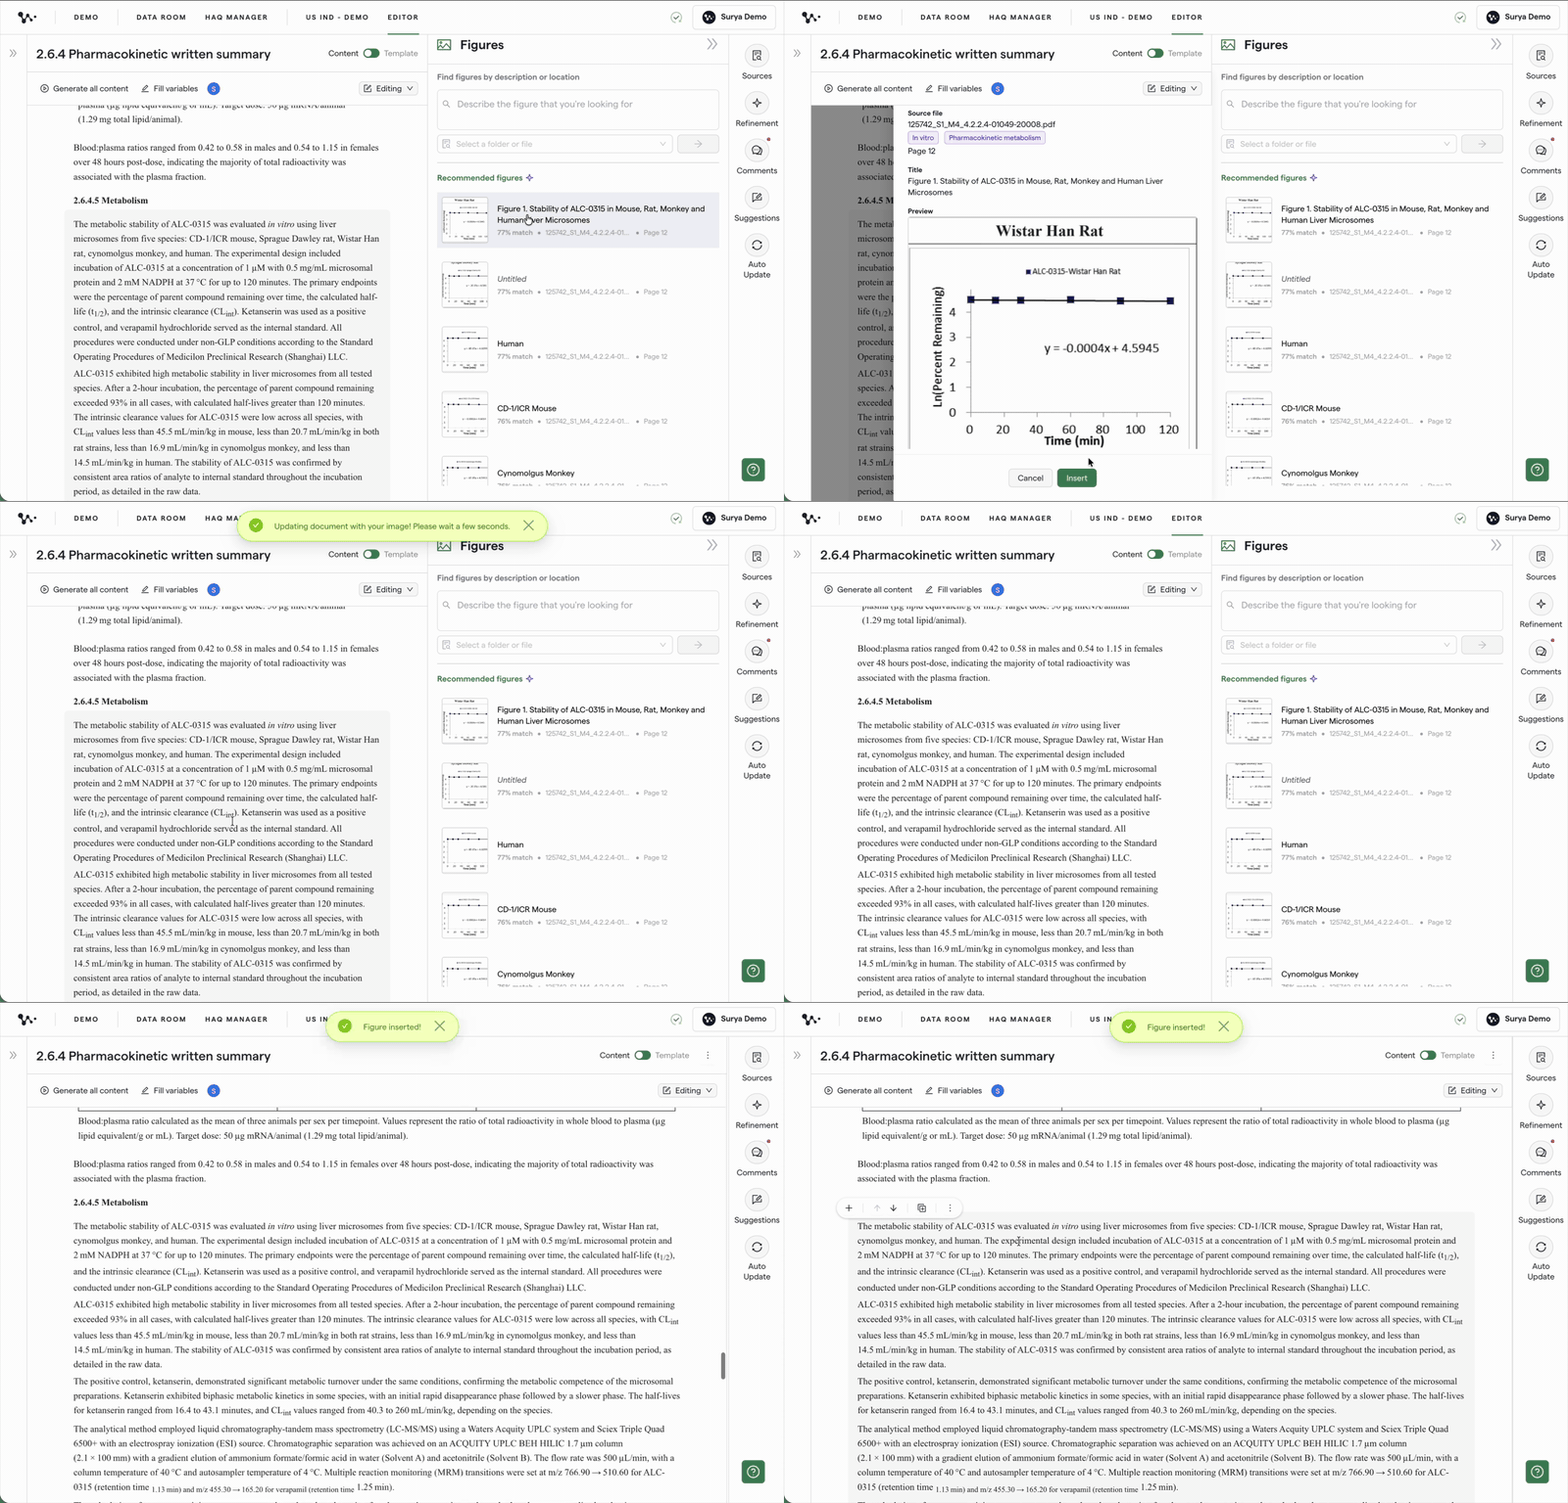
Adding the selected figure to the documentTip: Inserted figures are numbered and added to the document's table of contents automatically.
Once the figure is in your document, you can adjust its description, size, or placement as you continue editing.
Manage an inserted figure
Edit the figure description
- Select the inserted figure to show its editing controls.
- Edit the figure description directly in the editor.
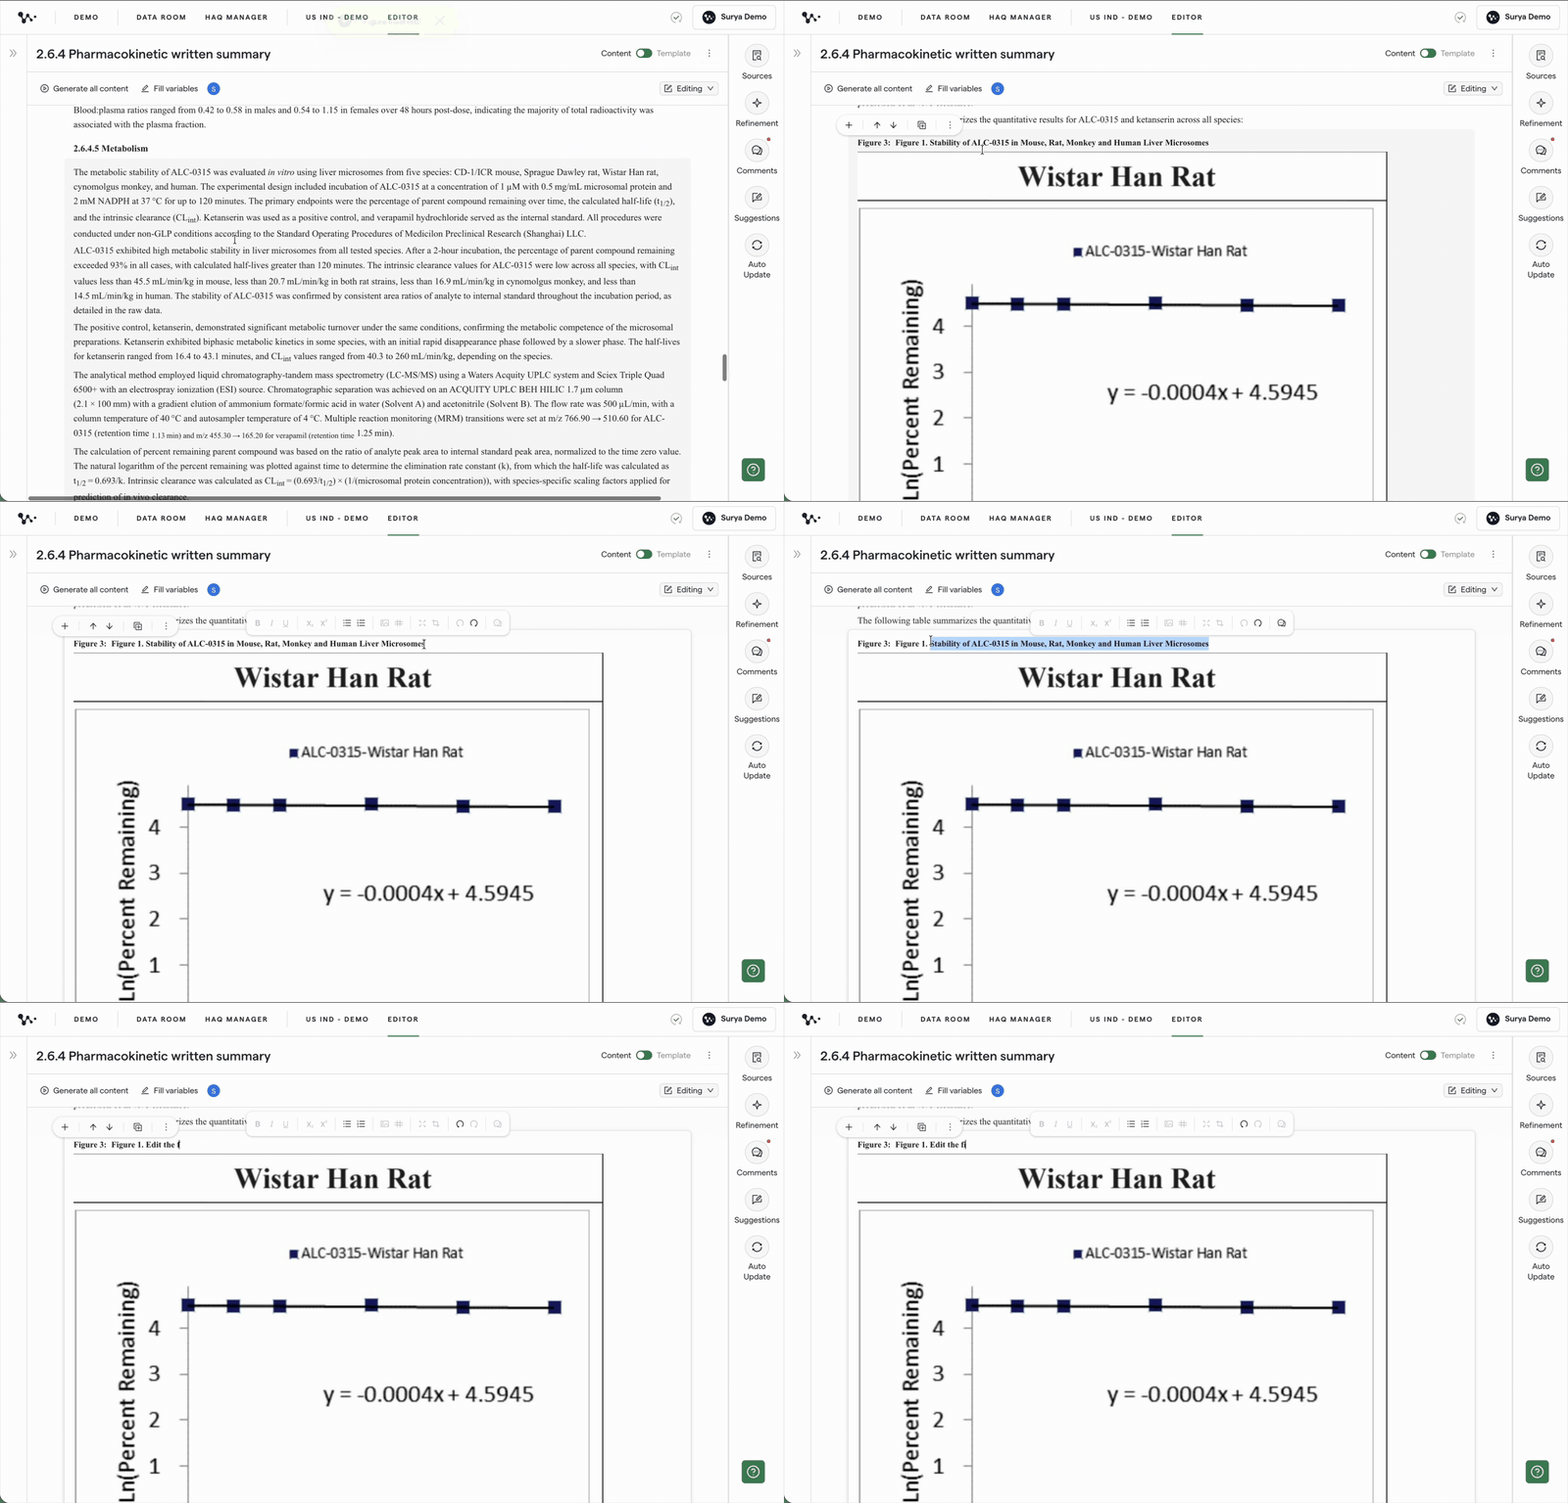
Updating a figure description in the editor
Resize a figure
- Select the figure you want to resize.
- Use the available figure controls to adjust its size.
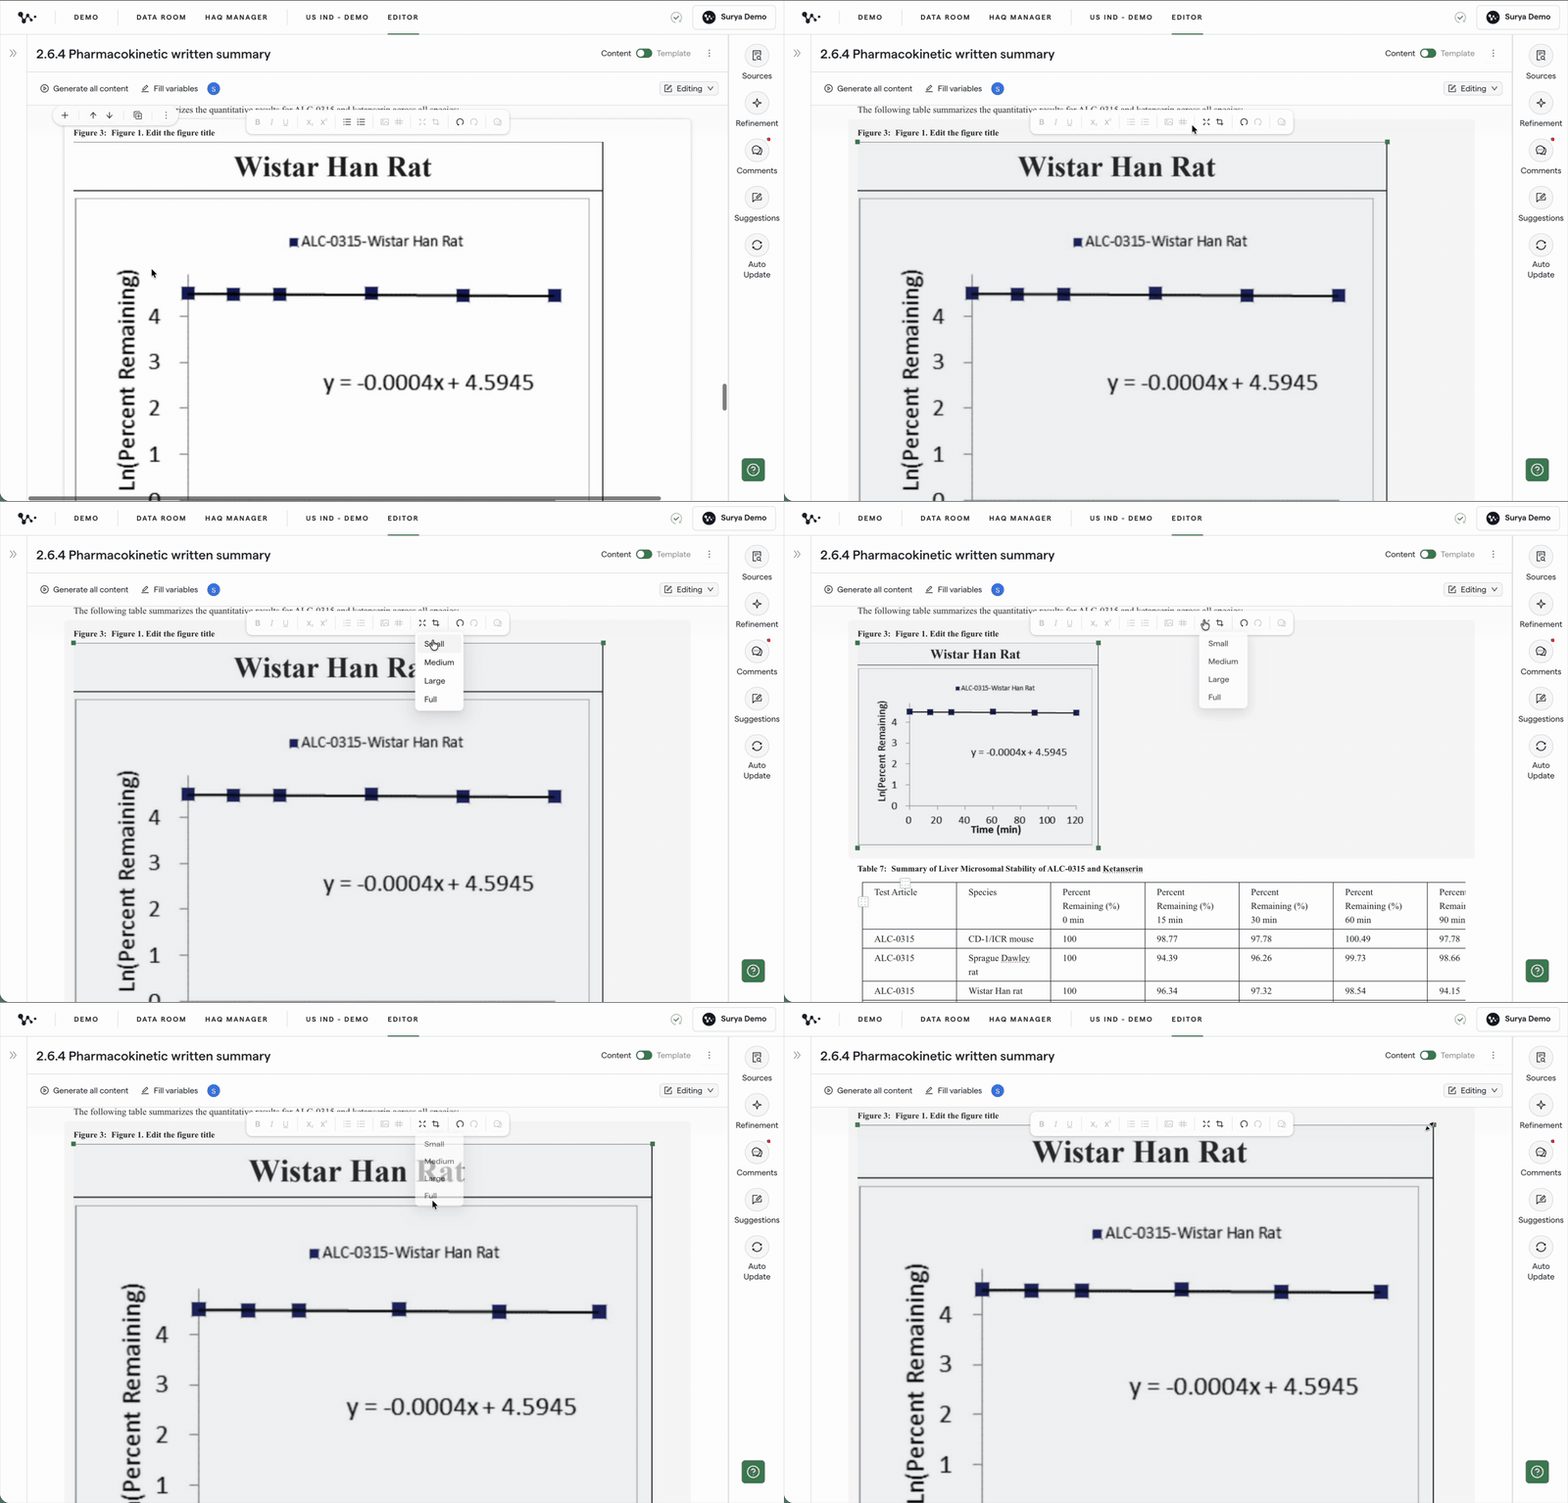
Resizing a figure in the document
Crop a figure
- Select the figure you want to crop.
- Open the crop controls and adjust the visible area of the figure.
- Apply the crop when the preview shows the content you want to keep.
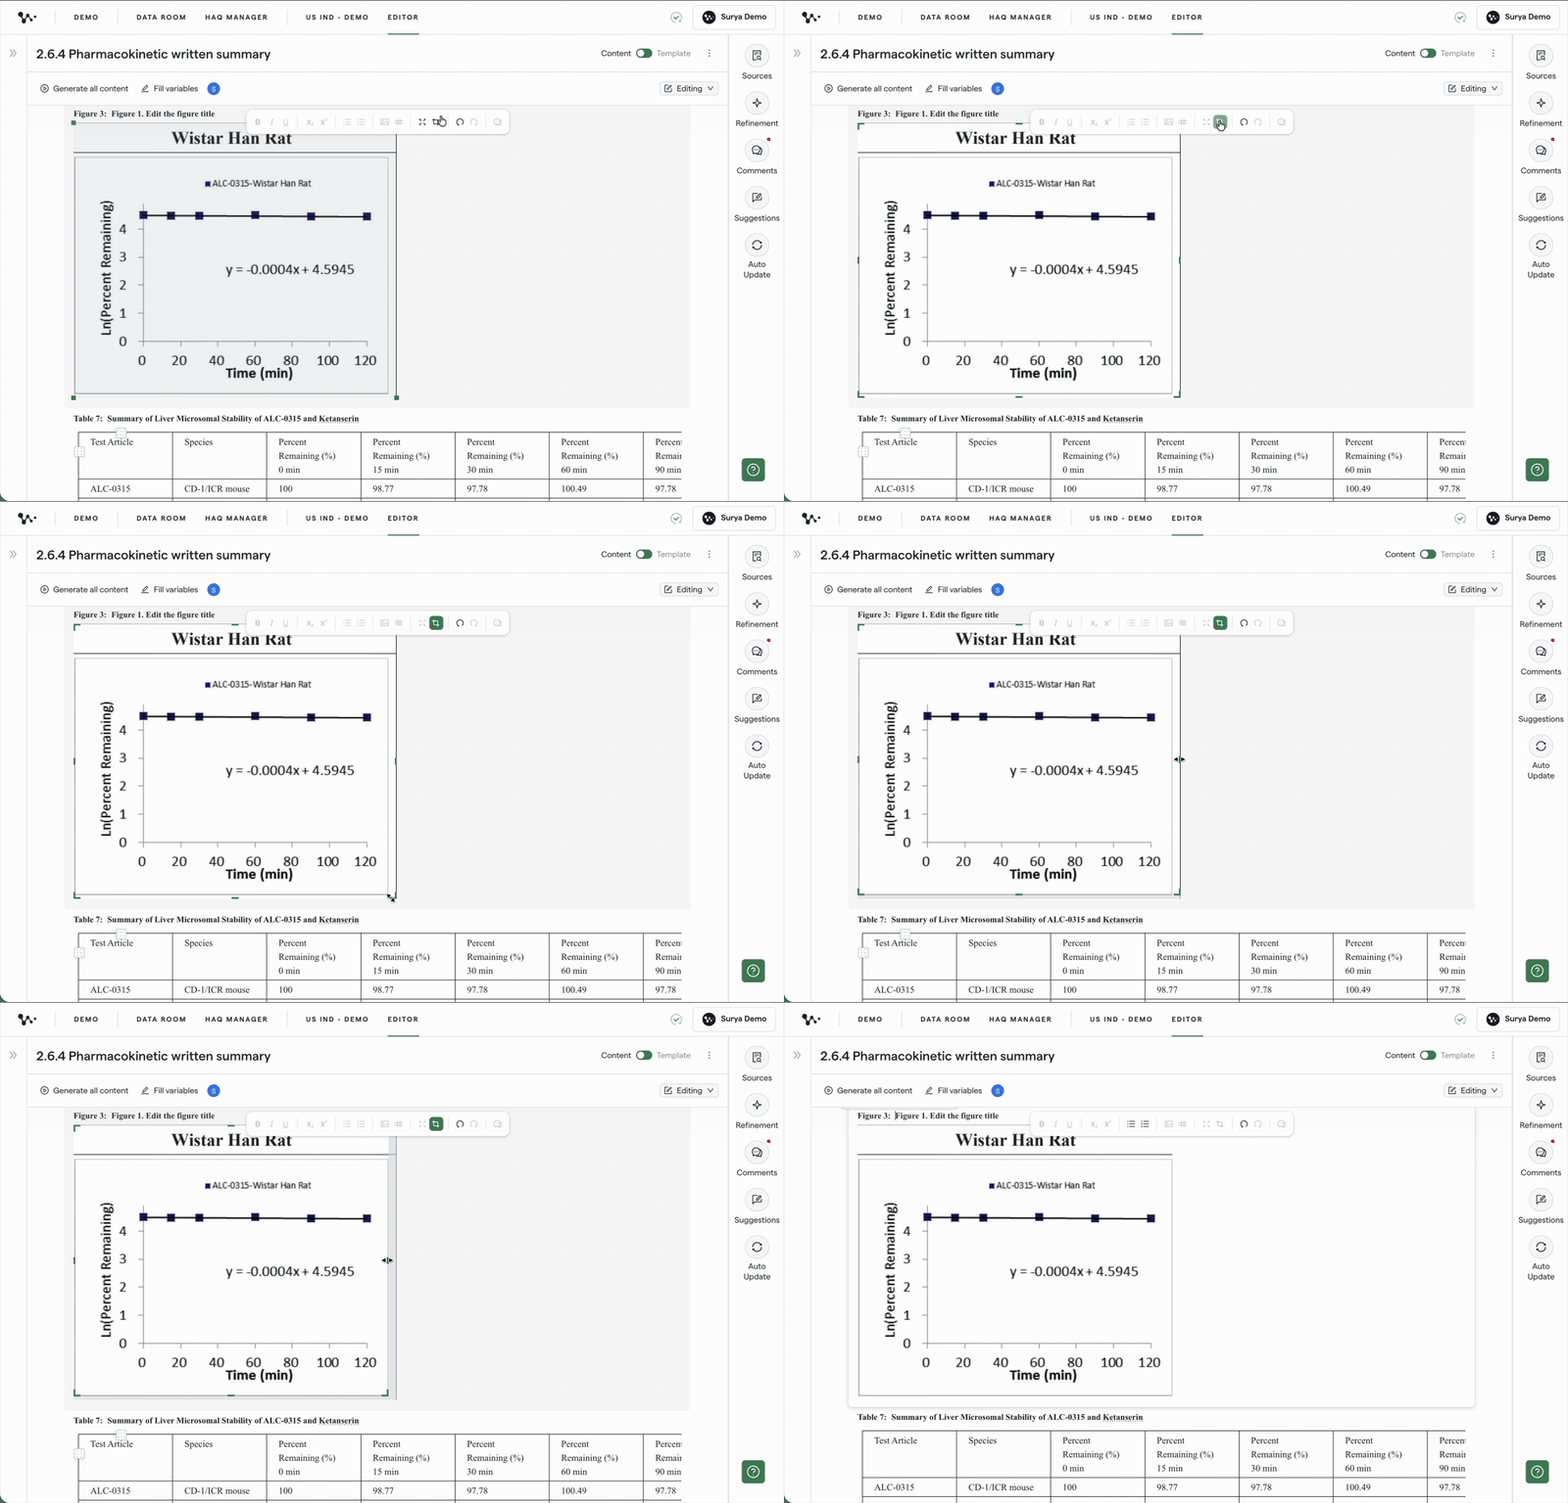
Cropping a figure to show the content you need
Move a figure to another section
- Select the figure you want to move.
- Use the up or down controls to move it between sections.
- Continue moving the figure until it appears in the correct section.
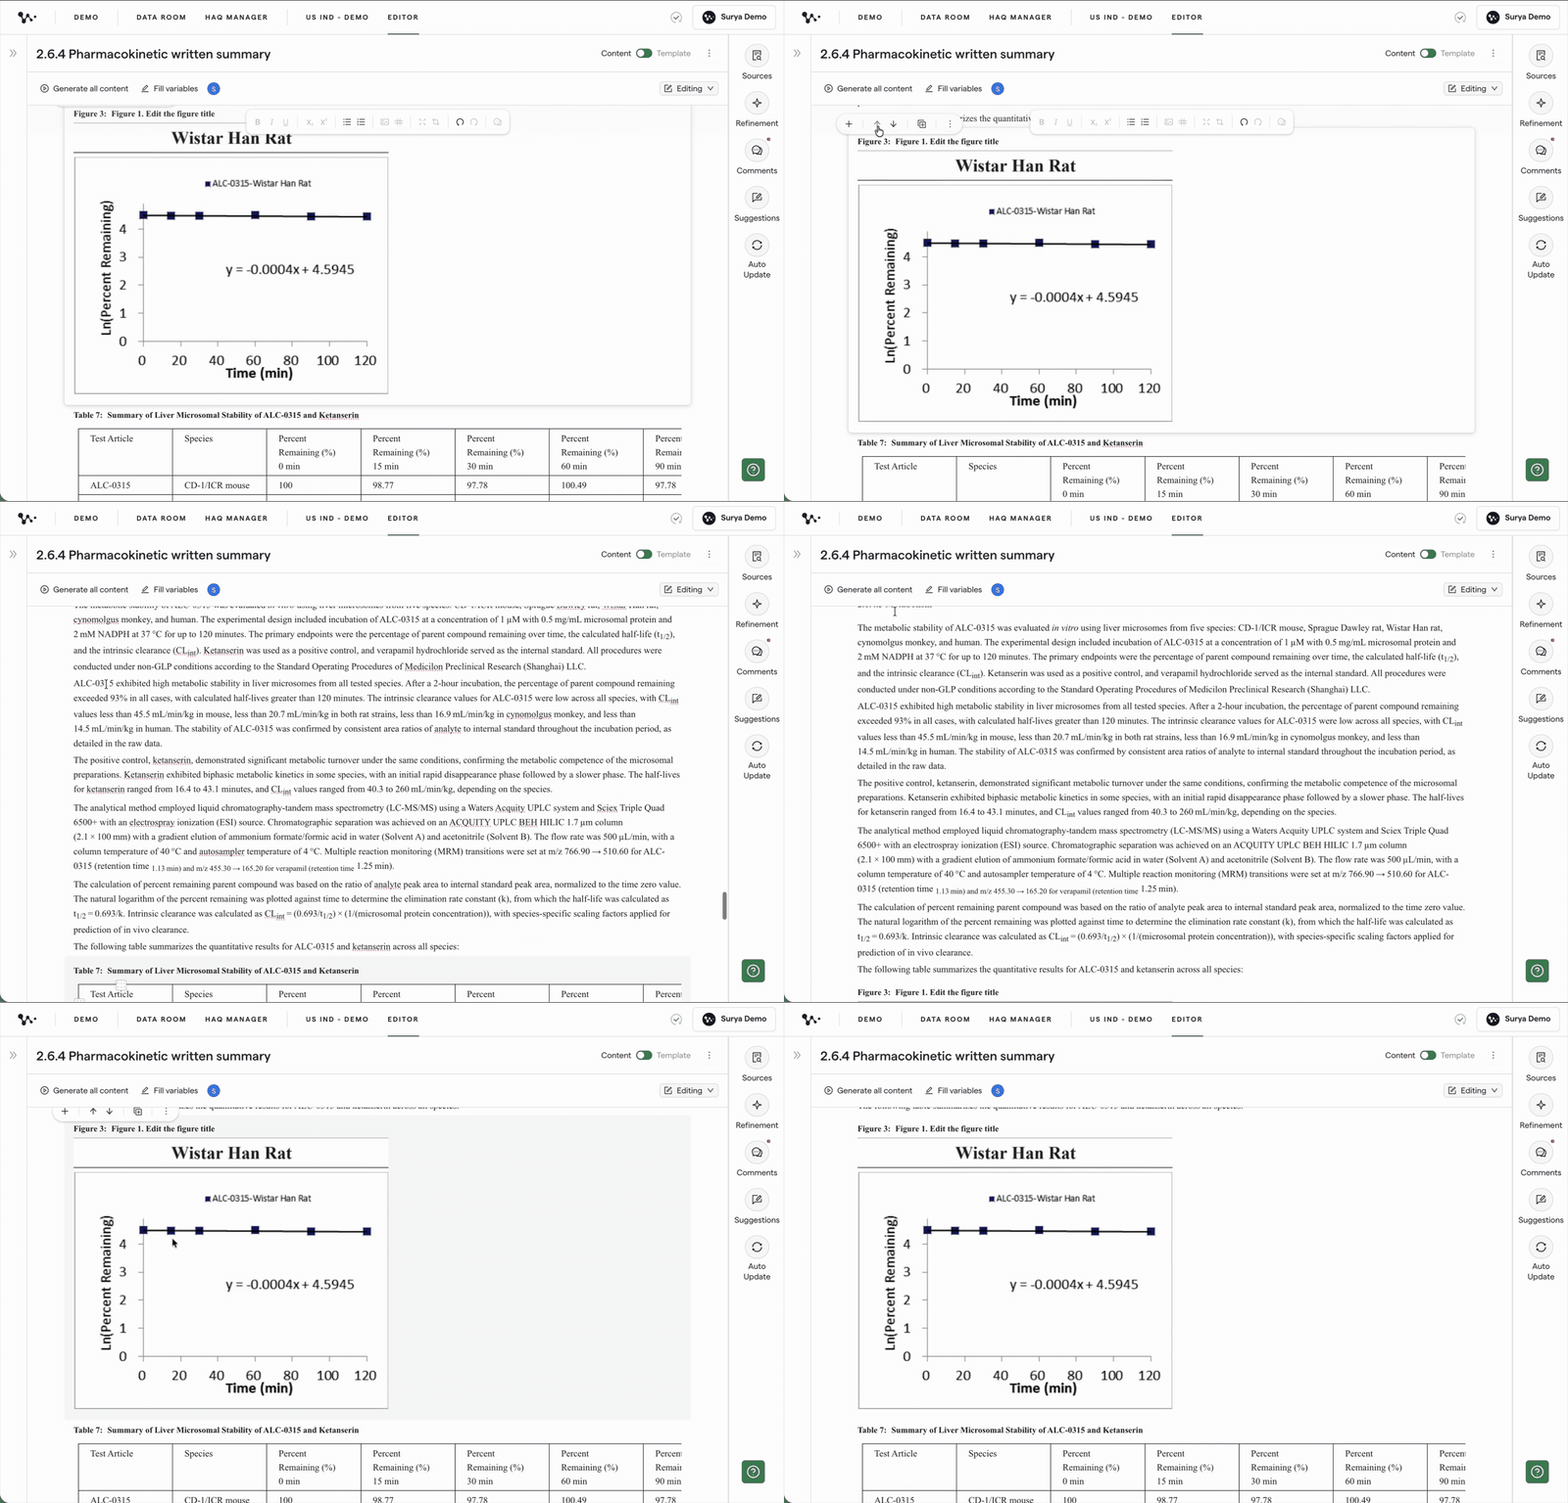
Moving a figure between document sections
Tip: Check the surrounding text after moving a figure to make sure its new location still provides the right context.
Delete a figure
- Select the figure you want to remove.
- Use the figure controls to delete it from the document.
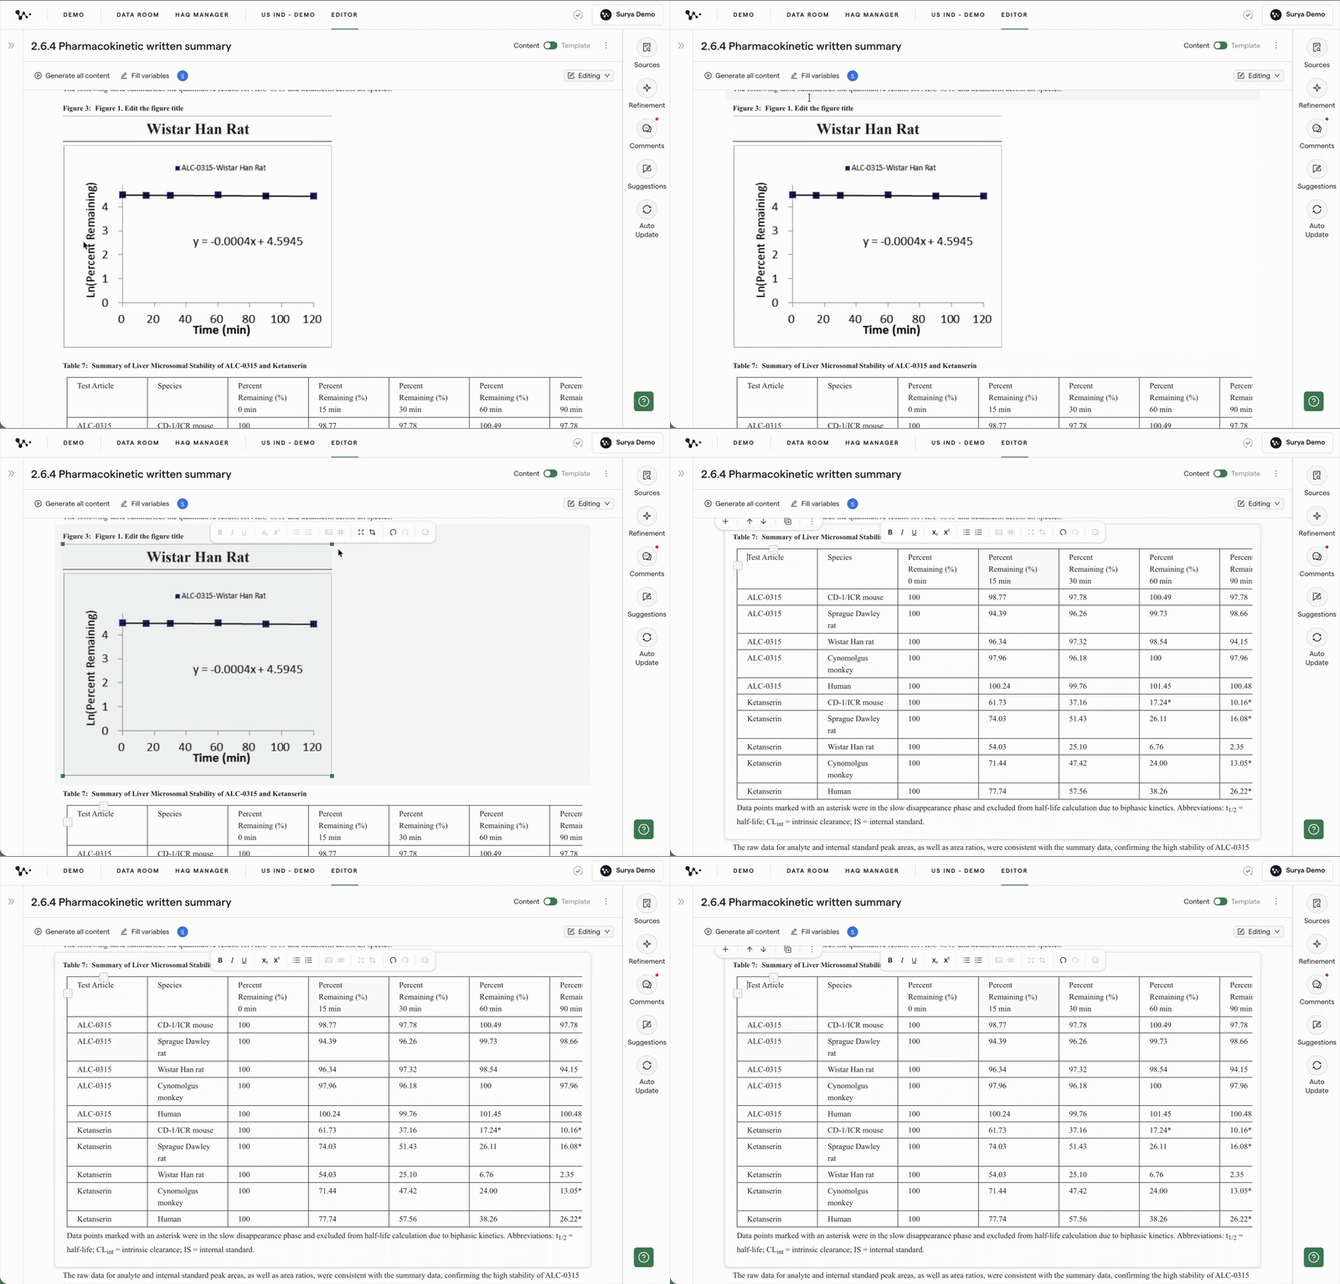
Removing a figure from the document
You can continue editing the rest of the document once the figure looks the way you want and appears in the correct section.
Frequently asked questions
Q: Why didn't Weave add figures from my source document automatically?
A: Weave extracts figures from source documents but does not automatically place them in your draft. You choose the insertion point and select the appropriate figure manually.
Q: Can I paste a figure from an email or another application into Content View?
A: No. Add the source document to the Data Room, then insert the figure using Figure and Find in Data Room.
Q: Can I ask Weave to pull a specific figure through a prompt?
A: No. Prompt-driven figure extraction is not currently supported. Figure insertion is a manual workflow.
Q: Can I crop, resize, move, or delete a figure after inserting it?
A: Yes. You can manage an inserted figure directly in the editor, including cropping it and moving it up or down between sections.
Q: Why is part of a footnote showing in my figure?
A: Select the figure and use the crop controls to adjust the visible area until the footnote or other unwanted content is excluded.
Quick Reference: Add and manage a figure
- Open the document in Content View.
- Hover over the left margin and click +.
- Select Figure.
- Choose Find in Data Room.
- Review the recommendations and match details.
- Preview the figure.
- Insert it into the document.
- Select the figure to edit its description, resize it, or crop it.
- Use the up or down controls to move the figure between sections.
- Delete the figure if you no longer need it.